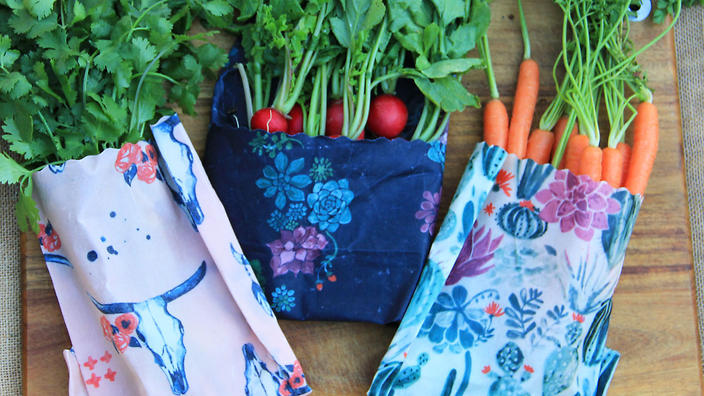
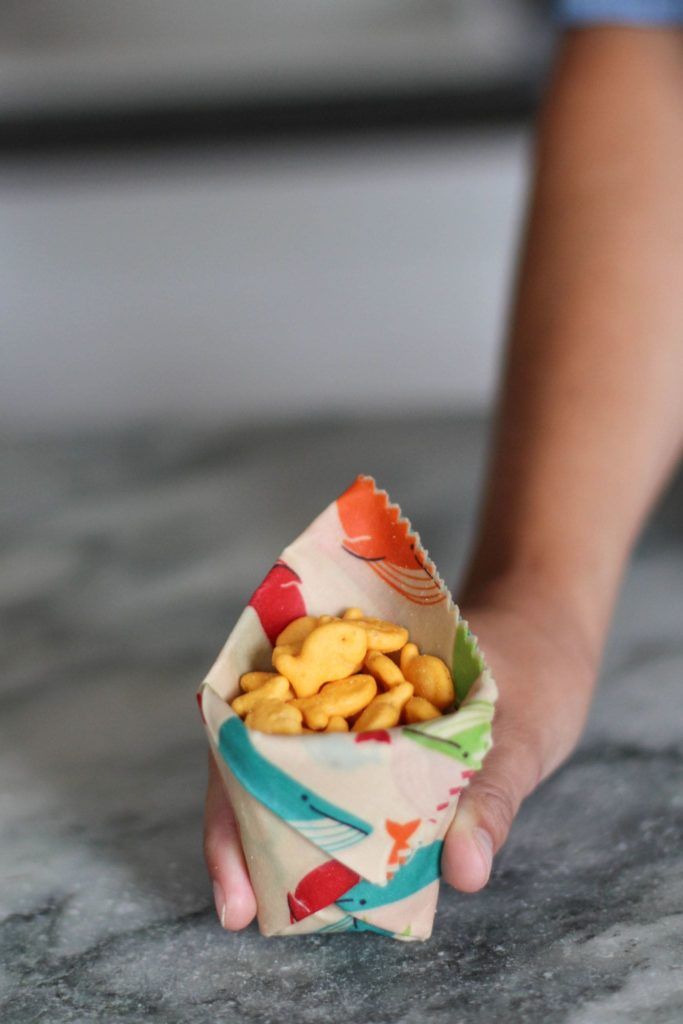
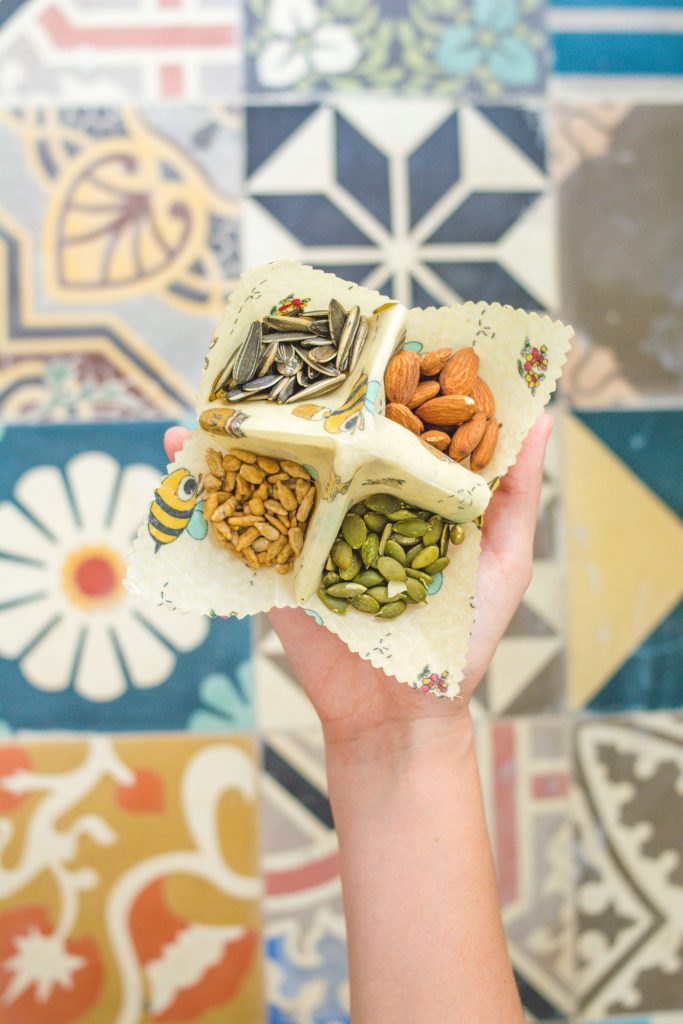
Beeswax cloth wraps have been in use since ancient Egyptian times for food preservation, and they have many applications in modern kitchens. Use them in place of plastic wrap, foil or waxed paper. A large piece will keep bread fresh while small pieces are wonderful for cheese.
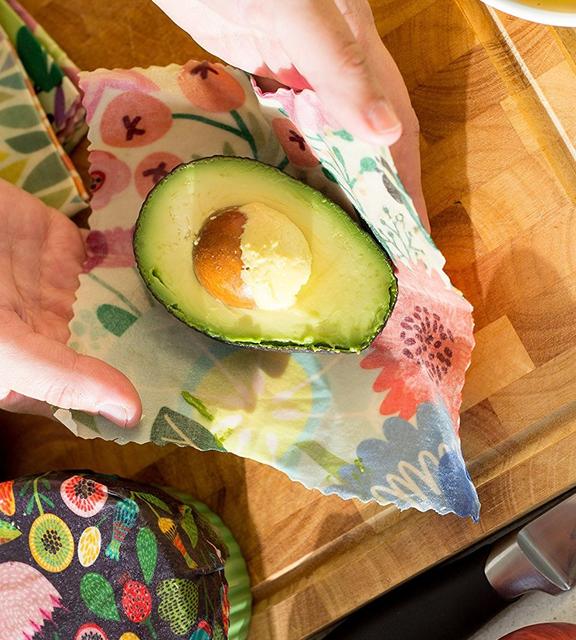
You can use beeswax wraps to cover a wide variety of things, such as leftovers, ferments, sandwiches, baked muffins and desserts, or cut fruit and vegetables, such as melons and avocados. Beeswax wraps are made with a combination of wax, oil and tree resin. The wax forms a seal that keeps food fresh, while the oil makes the wraps malleable. The tree resin provides tackiness, so your wraps cling, like plastic wrap.
When choosing ingredients for making your wraps, see what can be found locally to you. Maybe you have a local beekeeper who can supply you with some beeswax. You may find coconut oil easier to source than jojoba (jojoba is the top pick for oil because it is a liquid wax with a long shelf life and it won’t melt as easily in warmer climates.) Olive oil will work, too, and might be a good locally grown option for you, but it might oxidize sooner and start to give off a stale sort of smell after about 12 months. Coconut oil is more likely to melt and may not last quiet as long as jojoba, but should still last well. It’s easy for us to find nearby, so we tend to use that. Your wraps can last anywhere from 12 months to 5 years.
What You’ll Need
- 50g beeswax r 30g Candelilla wax for vegan wraps
- 30g pine rosin (this form of refined free sap can be made or sourced from specialty shops), crushed
- 1 tablespoon jojoba or coconut oil
- 1 cleans jar or can
- Squares of fabric cut to size with pinking shears. Squares with sides 20-45 cm long are useful. A 545cm square will cover a loaf of bread.
- Flat paint brush
Step 1
Turn your oven to the lowest setting.
Step 2
Half-fill a small saucepan with water and bring to the boil.
Step 3
Place the beeswax, rosin and oil in the jar and place the jar into the saucepan of water, making a double boiler.
Step 4
Melt and mix the ingredients in the jar using a spoon or wooden chopstick. The rosin may take a little longer to melt than the other ingredients, so make sure it is well mixed and not blobby.
Step 5
Place some baking paper on a baking tray, then place your first fabric square on the paper.
Step 6
Drizzle some of the melted beeswax mixture onto the fabric and use your paintbrush to spread it around. Work quickly! Add more wax mixture as needed. The fabric needs to be well saturated and will take on a darker more translucent appearance when ready. Try not to spread it too thickly. If this happens, take another prepared square of fabric and use it to blot any excess wax mixture.
Step 7
Place the baking tray in the preheated oven for 1 minute.
Step 8
Remove the tray from the oven and, if necessary, use the brush again to distribute the beeswax evenly. Put the wrap back in the oven if you need to repeat this step. Remove after 1 minute.
Step 9
Using tongs (or your hands if it’s cool enough to touch), lift the fabric square and wave it around to cool a little.
Step 10
Hang the fabric square to dry on a clotheshorse, clothesline or pegged to a coat hanger.
Step 11
If you have any leftover beeswax mixture, you may like to pour it into a mould and keep it for another time. It can be grated directly onto your fabric square, placed straight into a just warm oven to melt and then spread with a paintbrush before hanging to dry.

Step 12
The tree resin scent in your wraps may be a little strong to begin with. It should settle after a few days. To care for your beeswax wraps, clean them in cool soapy water and dry them flat. You can revive your wraps by placing them on a lined tray in a warm oven – it should help the stickiness come back a little. You can also re-coat them with the above blend of ingredients.

